How to 3D Print Stronger
Most people print electrical enclosures either vertically or horizontally. It’s what you see time and time again—print it flat on the bed for stability and strength, or go vertical if you’re tight on bed space. But there’s a better way. One that gives you strength, speed, and reliability. In this post, we’re diving into a smarter, less common method: printing your enclosures diagonally.
Georgy Jacob Founder Anything3D
4/3/20253 min read
How to 3D Print Stronger
More Efficient Electrical Enclosures:
The Diagonal Method
Why the Standard Methods Aren’t Always Ideal
Let’s quickly break down the traditional approaches:
Horizontal printing (flat on the print bed):
Great for rigidity. Your layer lines run horizontally through the part, giving it consistent strength. It sticks well to the bed and works especially well on large-format printers.
Vertical printing:
Ideal when you’re working with a smaller print bed. However, you’ll run into a common issue—support structures. You’ll end up needing internal and external supports, which add print time, material waste, and a lot of annoying post-processing.

Neither option is great for mass production, especially if you care about cost, finish, and part strength. So how do you get around this?
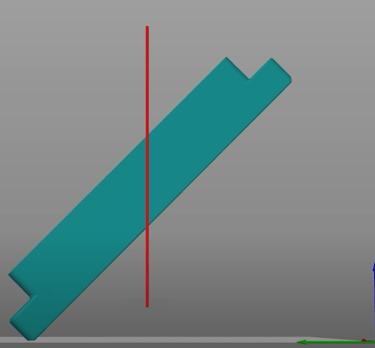
The Smarter Way: Diagonal Printing
Here’s where things get interesting. Instead of horizontal or vertical, print your enclosure diagonally—specifically at a 45° angle.
Why 45°? It gives you the best balance of support, minimal overhangs, and strong layer adhesion across all features. But this approach comes with its own challenges—mainly, how do you support it without a mess of auto-generated support material?

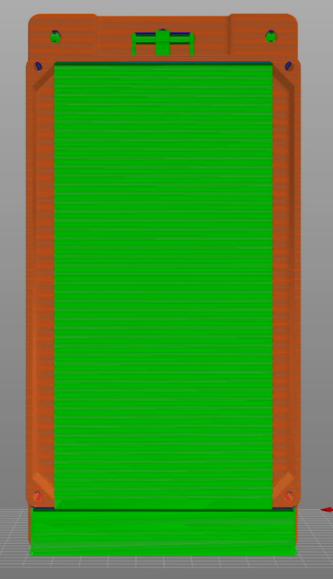
Designed Supports to the Rescue
Autogenerated supports are inefficient. They often don’t provide the stability you need during a long print, and they can damage your surface finish when removed. The solution? Design your own supports.
Here’s how:
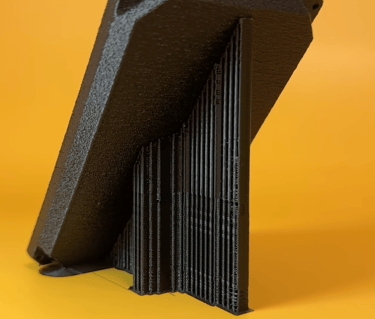
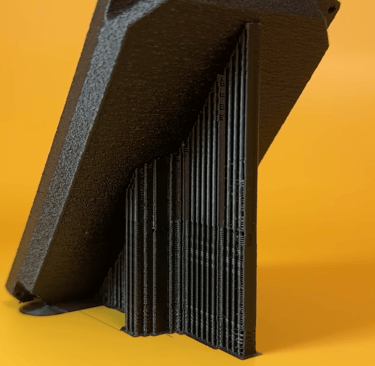
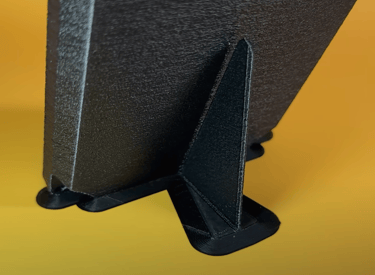
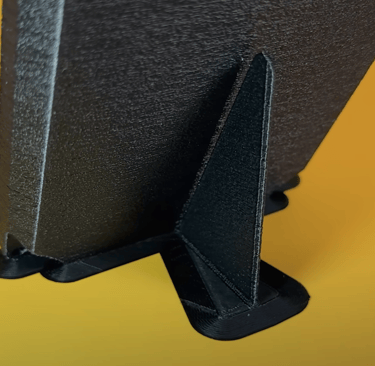
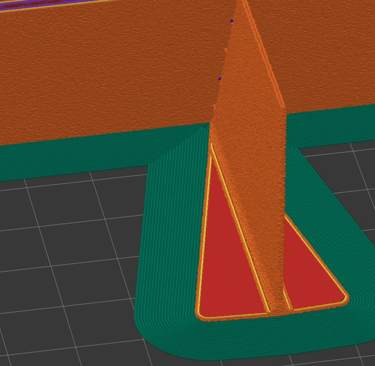
Add a 45° support fin to the part.
This helps you balance the enclosure as it prints at an angle.Create support ribs or "sprues" that attach the fin to the enclosure.
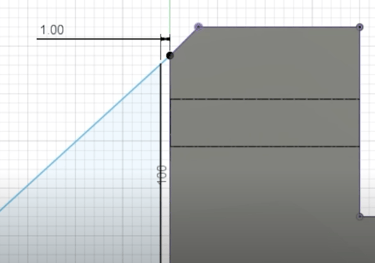
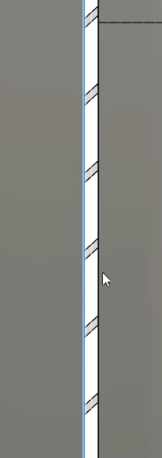
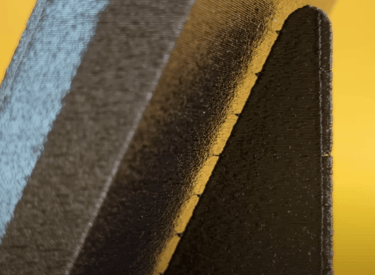
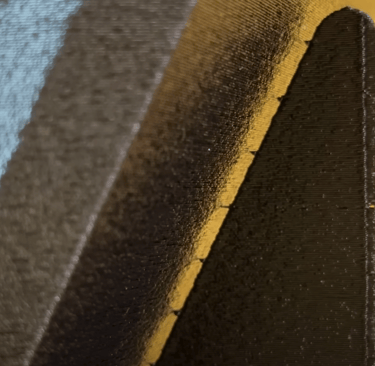
These should run horizontally and be spaced about 0.5–1mm from the part. This setup ensures they’re easy to break off cleanly.Flatten a portion of the back flange so there’s a stable contact patch with the bed.
The result? A super-clean print with minimal cleanup. You can even add small notches to the supports so they break closer to the part surface, reducing the need for sanding.


Structural Advantages of Diagonal Printing
Aside from the aesthetic and efficiency benefits, diagonal printing actually gives your enclosure more strength:
The forces from fasteners or mechanical stress distribute through the part instead of along the weaker layer lines.
Mounting holes and flange features don’t split easily under torque.
Walls and side planes resist cracking or delamination better than in vertical or flat prints.
And remember—this isn’t just a one-off prototype. These enclosures can be printed at scale. If you're producing hundreds or thousands, diagonal printing paired with smart design support makes it fast, affordable, and production-ready.
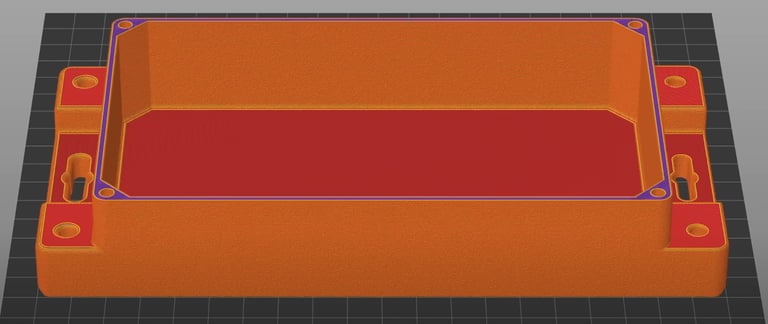
Add Texture for a Pro Finish
Want your part to look and feel like a premium enclosure? Add a little surface noise in your slicer settings or CAD design. That slight texture gives your part a pro-grade finish, masks layer lines, and gives your product a high-end, intentional look.
The Lid Matters Too
The lid for this enclosure was printed at a slightly gentler angle—about 35°. Still diagonally oriented for strength, but with a bit more support along its broader surface. It slots cleanly into the main body and takes full advantage of the thick, reliable outer flange design.
The Bottom Line
By printing diagonally:
You reduce support waste.
You improve part strength.
You speed up production.
You enhance aesthetics.
Whether you’re building a custom electrical enclosure for a small run or preparing for mass production, this method gives you the best of all worlds: cost-efficiency, reliability, strength, and style.